How to quickly make your own photo book without resolution headaches: a troubleshooting guide
Creating a photo book can feel like a daunting task, especially when you're racing against the clock and the spectre of pixelated prints looms large. Yet with a clear approach and the right mindset, assembling a treasured keepsake becomes less of a chore and more of an enjoyable project. The secret lies in planning ahead, selecting quality materials, and embracing simplicity over excessive embellishment. Whether you're preserving holiday snaps or crafting a heartfelt gift, understanding a few foundational principles will save you hours of frustration and ensure your finished album looks polished and professional.
Getting Your Photos Sorted and Choosing the Right Format
Organising Your Images: The Foundation of a Stress-Free Photo Book
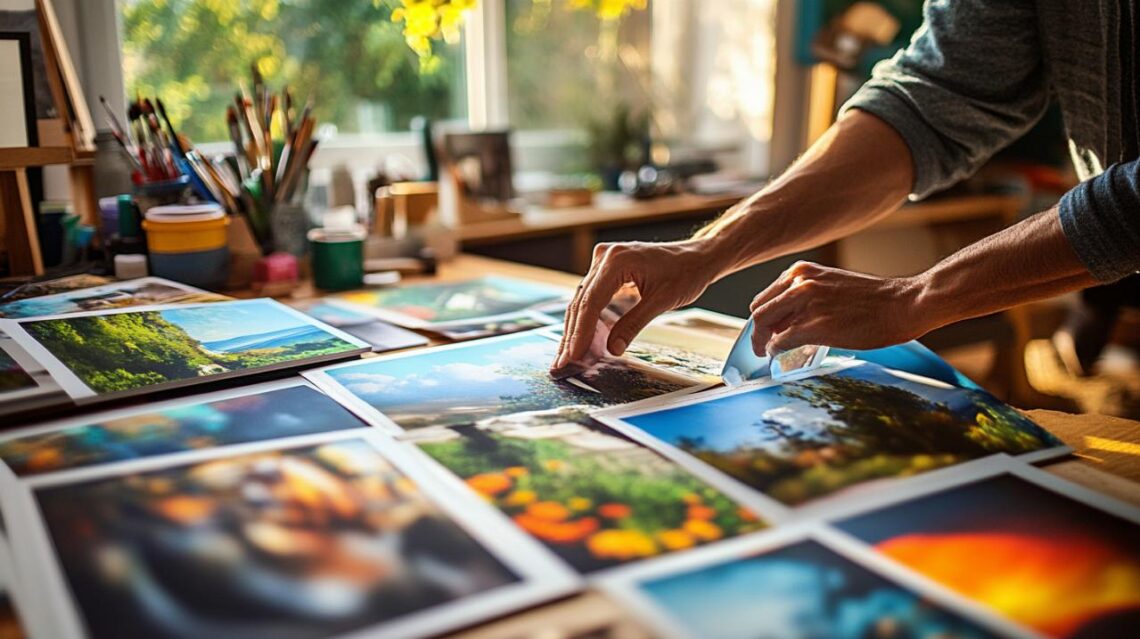
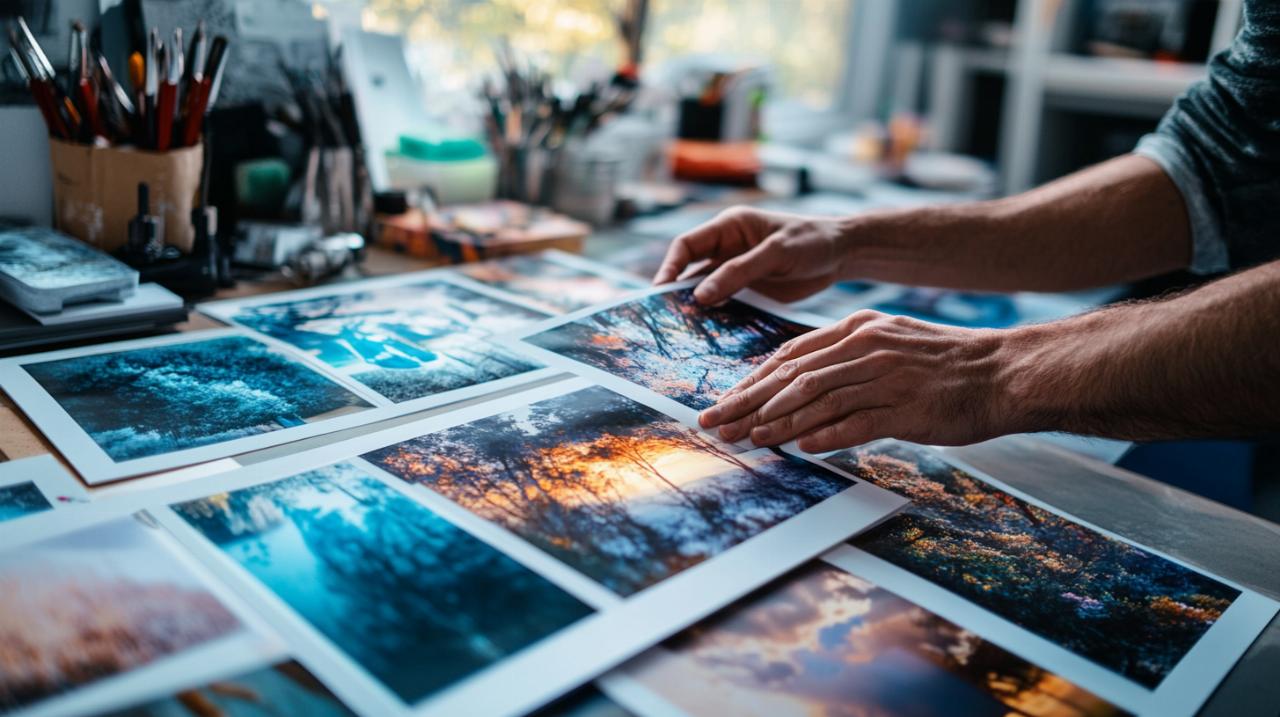
Before diving into design software or browsing endless template options, take a moment to gather and sort your digital images. Think of this stage as laying the groundwork for everything that follows. Sift through your photo library and identify the shots that tell a cohesive story or share a common theme. Perhaps you're documenting a family holiday, celebrating a milestone birthday, or simply curating your favourite moments from the past year. Whatever the narrative, selecting images that complement one another will give your photo book a unified feel and make the layout process far smoother.
As you narrow down your choices, keep an eye on image resolution. High-resolution images are essential for achieving crisp, vibrant prints. Digital images are measured in pixels per inch, and while a resolution of around seventy-two dots per inch suffices for viewing on screens, print quality demands something altogether different. Aim for images with at least two hundred to three hundred dpi to avoid blurry pictures or unsightly white spaces. If you're unsure about the resolution of a particular file, check its size in kilobytes, megabytes, or gigabytes. Larger file sizes generally indicate higher quality, with a low-resolution image at seventy-two dpi hovering around forty kilobytes, whereas a high-resolution counterpart at two hundred dpi might weigh in at approximately two hundred and sixty-five kilobytes. Should you discover that some cherished shots fall short of the mark, consider scanning printed photographs at three hundred dpi or adjusting your camera settings for future captures. In a pinch, free online tools such as Img2Go can upscale images, though the results may not always match the clarity of a natively high-resolution file.
Selecting the Perfect Format and Cover Style for Your Project
Once your images are in order, turn your attention to the format and cover style that best suit your vision. Landscape, portrait, and square layouts each offer distinct advantages depending on the content you're showcasing. Landscape formats work beautifully for sprawling vistas and group shots, while portrait orientations lend themselves to single subjects and candid portraits. Square formats strike a balance between the two, offering a modern aesthetic that suits both photography book creation and more informal collections alike.
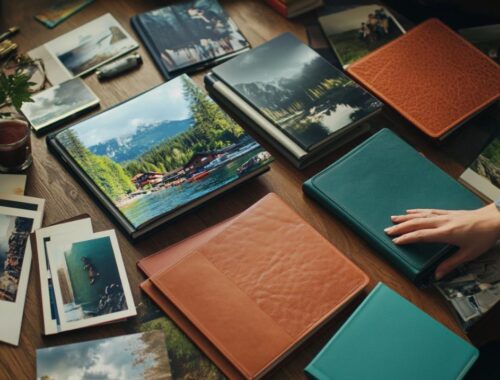
Cover choice is equally important. A hardback cover conveys a sense of permanence and quality, making it ideal for milestone albums or gifts you want to feel substantial and enduring. Softback options, on the other hand, are lighter and often more budget-friendly, which can be perfect if you're producing multiple copies or simply prefer a more casual presentation. Some platforms also offer specialist finishes such as linen or leather-effect covers, adding an extra touch of elegance. Consider how the book will be used and stored when making your decision. A robust hardback might be worth the investment for a wedding album destined for the coffee table, whereas a softback could suffice for a casual travel diary tucked into a bookshelf.
Streamlining the Creation Process with Online Platforms
Why online platforms like cewe are your best mate for quick assembly
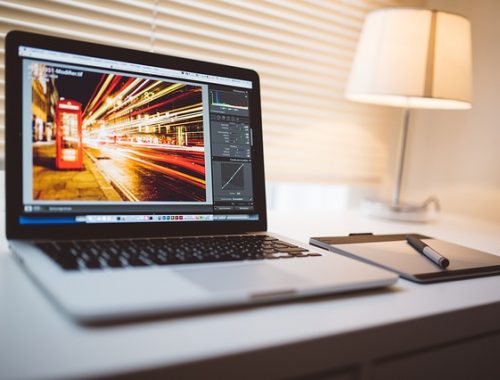
When time is of the essence, online photo book platforms are your greatest ally. Services such as CEWE streamline the entire creation process, offering intuitive interfaces, pre-designed templates, and automated layout suggestions that take much of the guesswork out of design. Rather than wrestling with complex photo editing software or grappling with the intricacies of Adobe InDesign, you can simply upload your high-resolution images, select a template that resonates with your aesthetic, and let the platform handle the heavy lifting. Many of these services also provide step-by-step guidance, ensuring that even those with limited design experience can produce professional-looking results.
Another advantage of online platforms is the convenience they offer in terms of printing and delivery. Once your layout is finalised, you can export your project to a print-ready PDF format without worrying about colour profiles or file size optimisation. The platform takes care of converting your images to the CMYK colour profile required for print, ensuring accurate colour reproduction. Moreover, you can preview your finished album on screen before committing to print, reducing the risk of costly errors. For those seeking an exclusive edge, some platforms partner with photography schools or professional organisations to offer discounts or bonus features, making high-quality book printing accessible to a wider audience.
Keeping It Simple: Avoiding Overcomplication with Effects and Personalisation
While it can be tempting to experiment with every filter, border, and embellishment available, restraint is often the key to a polished final product. When you're working to a tight deadline, excessive personalisation can quickly spiral into a time sink. Stick to clean, unfussy layouts that let your images take centre stage. Consider using consistent typography throughout the book, selecting a single font family and limiting variations to just a few sizes for headings, captions, and body text. This approach not only speeds up the design process but also lends a cohesive, professional feel to the finished album.
Master pages can be invaluable here, allowing you to establish a uniform structure for page numbers, headers, and footers without having to replicate settings manually on every spread. If your chosen platform supports this feature, invest a few minutes in setting up a master template at the outset. You'll save far more time down the line and reduce the likelihood of inconsistencies creeping in. Similarly, resist the urge to cram every page with photos. Thoughtful use of white space and balanced grids can make a modest selection of images feel intentional and elegant, whereas overcrowded layouts risk overwhelming the viewer and detracting from the narrative you're trying to convey.
Quality considerations and final checks before your album arrives
Paper stock, flat opening, and other quality features worth considering
Even when speed is paramount, don't overlook the importance of selecting quality materials. Paper stock plays a significant role in both the tactile experience and the visual impact of your album. Thicker, heavier papers feel more luxurious in the hand and are less prone to showing through or creasing over time. Many platforms offer a choice between standard and premium paper options, and while the latter may carry a modest additional cost, the difference in perceived quality can be substantial. If your budget allows, opt for the upgrade to ensure your album stands the test of time.
Flat opening is another feature worth exploring, particularly if your collection includes panoramic shots or double-page spreads. Standard bound albums often feature a slight gutter in the centre of each spread, which can interrupt the flow of a large image and obscure important details. Flat opening, also known as lay-flat binding, eliminates this issue by allowing the pages to lie completely flat when the book is open. This not only showcases your photographs to their fullest potential but also lends a premium, magazine-like quality to the finished product. For albums focused on landscape photography or expansive group shots, this option can make all the difference.
Reviewing Your Finished Album and Contacting Customer Service if Needed
Before you hit the order button, take the time to proofread and review every page of your album. Look for spelling errors in captions, check that dates and names are correct, and ensure that all images appear sharp and correctly aligned. It's easy to overlook small mistakes when you've been staring at the same layout for hours, so consider stepping away for a short break before conducting your final review. Fresh eyes often catch issues that would otherwise slip through unnoticed.
Once your album arrives, examine it carefully before filing it away. Check for print quality, colour accuracy, and any signs of damage incurred during shipping. If you spot any problems, don't hesitate to contact customer service. Reputable platforms stand behind their products and will typically offer reprints or refunds if the finished book fails to meet their quality standards. Taking a few minutes to inspect your order ensures that your investment pays off and that your memories are preserved exactly as you envisioned. Should you need assistance or have questions about the production process, most websites feature comprehensive support sections with detailed product information, troubleshooting guides, and contact details for their customer care teams. Remember, creating a photo book is as much about the journey as the destination, and with the right preparation and platform, you'll have a beautiful keepsake to treasure for years to come.